The silicone sponge blender, a novel makeup tool, has garnered significant attention and sparked debate within the beauty community. Initially met with skepticism, its unique properties and application method have led to a re-evaluation by many users. This guide delves into what you need to know before embracing this innovative applicator.
Initial Impressions and the Learning Curve
Upon first hearing about a foundation applicator made entirely of silicone, many, including myself, harbored doubts. The concept of using silicone for blending makeup seemed unusual. However, curiosity, fueled by positive reviews from beauty influencers, led to a desire to test its efficacy firsthand. When W2Beauty introduced their Silicone Sponge Blender, it presented an opportunity to discover the capabilities of this oddly shaped tool.
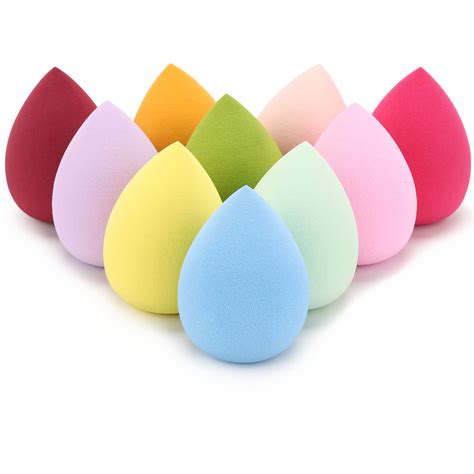
The silicone sponge blender typically arrives in a sealed foil bag, often further protected by an inner plastic bag. The sponge itself is comparable in size to a standard beauty blender, approximately a quarter of an inch thick. A key characteristic is its non-porous surface, which prevents it from absorbing any foundation or concealer. The sponge feels durable, and even after extensive use, bending, folding, and cleaning, its surface remains intact and like new.
It's important to note that the initial experience with a silicone sponge blender may not be immediately favorable. The first use can feel awkward, and positioning the sponge in hand might require adjustment, potentially leading to hand cramping. The sensation of using silicone on the face for blending liquid products can feel peculiar, and the initial results might not meet expectations. However, persistence and repeated use can lead to a surprising shift in opinion, with many users eventually becoming proponents of the silicone sponge blender after a period of trial and error.
Tips for Mastering the Silicone Sponge
To help prospective users navigate the initial learning curve, here are some essential tips for effectively using a silicone sponge blender:
Tip 1: Ensure Skincare Absorption
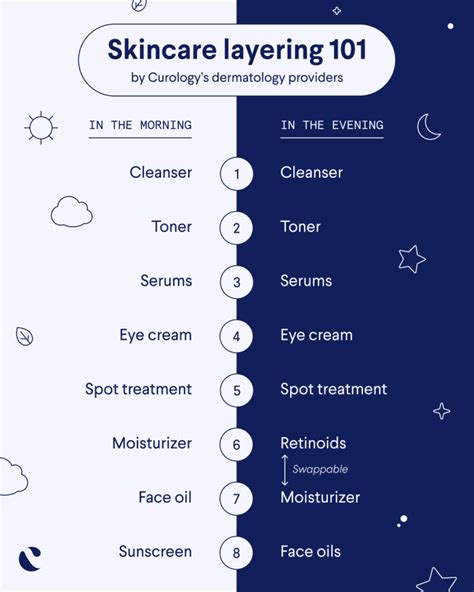
Allow your skincare products, sunscreen, and primers to fully absorb before applying foundation. This step, while seemingly obvious, is often overlooked, especially during rushed mornings. Applying foundation immediately after skincare can result in a patchy application where products sit on top of the skin, requiring extra blending time. Unlike traditional brushes or beauty blenders that absorb some product, a non-porous silicone sponge requires the skin to have properly "digested" previous layers. Waiting a few minutes after applying sunscreen and primer will significantly improve the blending process and overall finish.
Tip 2: Less Product, More Impact
When using a silicone sponge blender, less product is more. You might be surprised at how little foundation you need. An excessive amount of product can hinder proper blending. Through experimentation, many users find they can use as little as a quarter of the product they would typically use with other applicators. The benefit is that you can always build up coverage if needed.
Tip 3: Understanding Application Mechanics
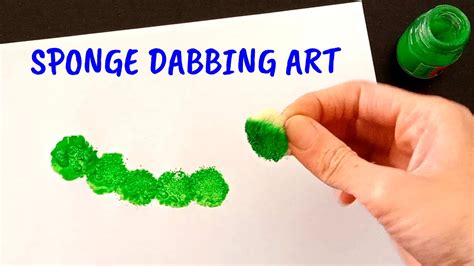
There are various techniques for using a silicone sponge. Some apply foundation directly to the skin and then use the sponge to smear it, while others dispense foundation onto the sponge itself. A highly effective method involves applying a small amount of product onto the blender at a time and dabbing it quickly in small motions to create an even canvas without patchiness.
A common drawback noted with silicone sponges is their difficulty in reaching crevices and blending on curved surfaces, such as around the nose, and under the eyes. While folding the sponge can help access these areas, it can still be challenging. Some users overcome this by using the silicone sponge for the primary application and then using their fingers to fully blend in the product. While a minor disadvantage, it is often not a deal-breaker.
Tip 4: Versatility with Different Formulas
Silicone sponge blenders are effective with a wide range of foundation types, including lightweight tinted moisturizers, medium-to-full coverage foundations, and cushion compacts. They are particularly useful for cushion compacts, as they prevent the wastage of expensive product that would typically be absorbed by the sponge puff.
Pros and Cons of Silicone Makeup Sponges
Like any makeup tool, silicone sponges have their advantages and disadvantages:
Pros:
- Hygienic and Long-lasting: Silicone sponges are generally more hygienic than traditional foam sponges and can last longer if cared for properly.
- Non-Absorbent: The impermeable nature of silicone means no product is wasted through absorption, making it economical. This property also extends to moisturizers or night creams.
- Easy to Clean: Cleaning is straightforward; simply rinse under water with mild soap and allow to dry.
- Dewy Finish: Silicone blenders can impart a glowing, semi-dewy finish, which can be adjusted with mattifying powder.
- Cost-Effective: Many silicone sponges are affordably priced, often less than competing brands.
Cons:
- Blending Challenges: The smooth, slippery texture can make blending difficult, especially in hard-to-reach areas or on curved surfaces.
- Learning Curve: It takes time and practice to master the application technique.
- Potential for Streaking: Without proper technique, foundation might appear streaky or simply move across the skin rather than sinking in.
Hybrid Sponges: The Best of Both Worlds?
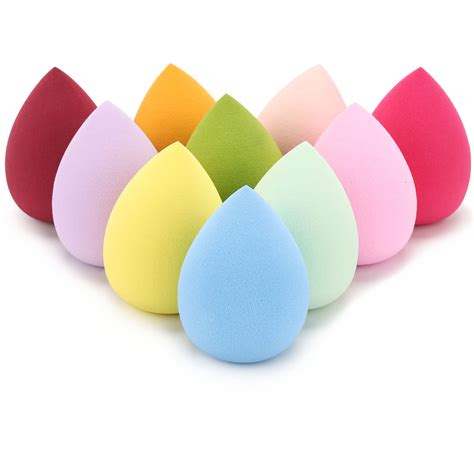
To address the blending challenges associated with pure silicone sponges, many brands now offer hybrid sponges. These tools combine a silicone surface with other materials, such as a flocked or foam side, to provide both efficient product application and seamless blending. For instance, the E.l.f. Dual-Sided Silicone Blender features a silicone side for application and a flocked side for blending. Makeup artists often recommend these hybrid options, as they allow for streak-free application and smooth blending, particularly when used damp.
The E.l.f. Angled Silicone Face Sponge is another popular hybrid choice. Its angled sides are designed for smooth, skin-like application, while the tip is ideal for blending concealer and applying powder. This design aims to mimic the finger's application, offering a natural finish.
Applying Foundation with a Silicone Blending Make Up Sponge
Types of Makeup Sponges
The makeup sponge landscape has evolved significantly, offering a variety of shapes and textures for different purposes:
- Flat-Ended Beauty Sponge: Versatile for both damp and dry use, ideal for stippling and blending foundation and concealer.
- Dual-Pointed Makeup Sponge: Features fine-pointed ends perfect for precise concealer application and blending in hard-to-reach areas.
- Silicone Makeup Sponge: Offers smooth, full-coverage application of cream and liquid formulas without product absorption.
- Powder Puffs: Designed for setting makeup with a smooth, airbrushed finish, often with shapes that fit facial contours.
- Pillow Puff Sponge: A soft, dense foam sponge that minimizes product absorption, ideal for seamless, streak-free application over larger areas.
Makeup Sponge Sets and Travel Cases
For those looking to build a comprehensive makeup tool collection, various sponge sets are available, catering to different needs, from base routines to highlighting and blending. Additionally, specialized travel cases ensure that sponges are protected from dirt and bacteria when on the go, while also allowing for proper drying between uses.
How to Clean and Maintain Makeup Sponges
Regular cleaning is crucial for all makeup sponges to prevent bacterial growth and ensure optimal performance. While silicone sponges are easier to clean, traditional foam sponges should be replaced more frequently, typically every 1-3 months with daily use, to maintain hygiene and skin health.