You don't have to be the makeup-obsessed shopaholic that I am to have a versatile, high-quality drag makeup kit. There are all different kinds of drag, many different styles, and all of them are wonderful. Getting started with drag makeup can be difficult and overwhelming because of all of the different products that are available, where to buy them, theatrical vs. mainstream cosmetics, etc. This post is not about how to do your makeup, but rather about my suggestions as someone who is completely self-taught and has been doing drag for over twenty years. This is about getting some good, useful basics so that you can play and experiment and develop your persona and style.
Another sort of disclaimer: when I'm talking about drag makeup here, I'm going to be speaking about a very feminine style of makeup because that's what I do. Some of what I talk about here might be useful for kings or people who want to do SFX/Monster drag, but I've never done those styles so I'm not the expert. This is just me talking through what I use to create the kinds of looks I create, and hopefully will save you some time and frustration in building up your first kit.
Complexion: Preparing Your Canvas
The first area I want to talk about is the complexion - preparing your canvas in order to create a masterpiece. A good skincare routine and wearing sunblock daily is actually a great start to a makeup routine, but regardless of that I suggest starting off with some sort of moisturizer even before putting down a primer. Anything that works with your skin that you enjoy is great. This is especially important if you shave for drag because shaving is a type of physical exfoliation, and not following up exfoliation with moisturizer can cause your skin to become extremely dehydrated and can cause acne if your skin goes into overdrive on oil production.
Once you're prepped and ready for makeup, here are the types of products I typically use with some good options that have worked for me. Note: I have oily skin, so a lot of my selections are chosen with that in mind, and may not work as well for people with normal/combo/dry skin.
Primer
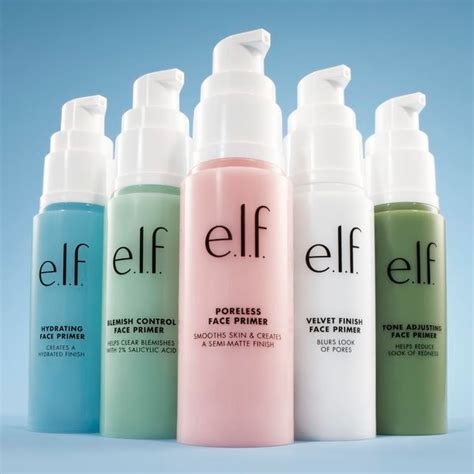
This is one of those steps that's not a must-have, and a lot of people skip this altogether, but I do like to have a primer to set everything up. It can help your makeup last longer, especially when you're sweating and dancing and all of that. It can also help with texture and smoothing to make the rest of the makeup go on smoothly. I have large pores, so I look for primers that have silicone ingredients fairly high up as they can help blur and disguise my texture. There are a couple of great primers from e.l.f. that I love that are $10 or less: The Poreless Face Primer is a silicone based primer that is very slick and a great staple primer, and the Power Grip Primer is a slightly tacky primer that helps hold on to makeup (it's similar to the Milk Makeup Hydro Grip primer from Sephora, but at like a quarter of the price).
If you are very oily like me, the classic is still the best: Smashbox Photo Finish Control Mattifying Primer is amazing. The brand has been pretty stagnant the last few years, but their primers are perennial faves.
Foundation
You need a foundation that is going to work hard, since you're twirling on a stage, not just surviving under the fluorescent lighting. I prefer foundations that are matte finish. These are great for people who tend to be oily anyway, but I find that they are great regardless of skin type for drag makeup. Foundations that are described as "radiant" or "hydrating" or "dewy" tend to stay wetter than matte or natural finish foundations, and they can break up more easily when you're on stage and performing. And you want coverage! Put down those tinted moisturizers and BB Creams - we want full coverage!
There are lots of great foundations out there. Some of my favorites are the Uoma Beauty Say What Foundation, but that company seems to be on the rocks and it might disappear - get it while it's still around if you want to try this one! The original Juvia's Place I Am Magic foundation has good coverage and is definitely matte, but it can feel a little heavy. I still love it though, it's some of the best full coverage out there - this is definitely recommended if you want to cover up dark beard shadow.
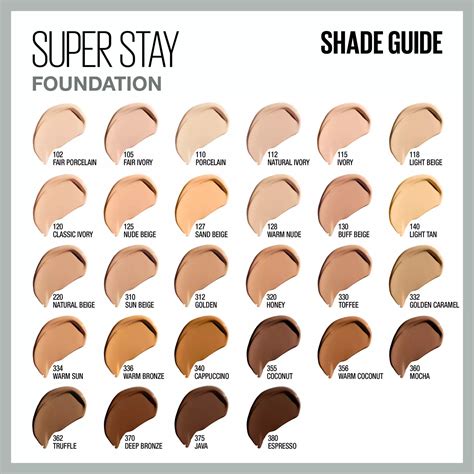
For drugstore foundations, I like Maybelline Super Stay the best. There are some ok options from NYX, but I find them to be a little more hit and miss, and feel like they are always discontinuing and reformulating, so the Maybelline is much more consistent. Hard Candy also has a good foundation, but the shade range isn't great, and it's a little more inconsistent to find in Walmart stores.
Color Correcting
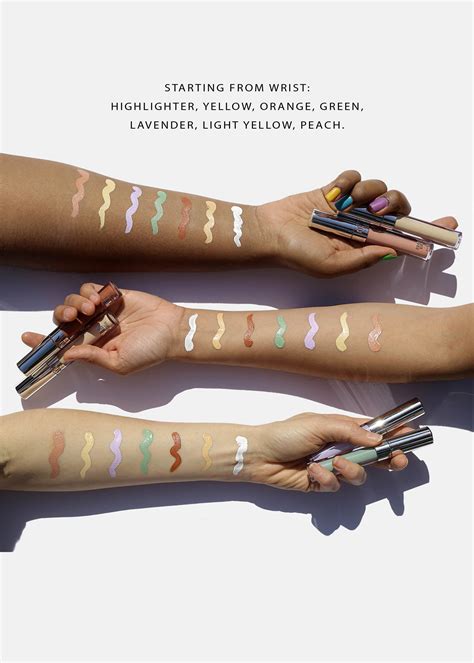
The idea behind color correcting is simple. If you have a color on your face that you don't want to be there - bright pink inflamed cheeks or dark blueish beard stubble - you can hide it by selecting the color that is opposite that color on the color wheel, and lightly blend it over the area to help neutralize it. Makeup is subjective and everyone has to find their own style, but I will say that if someone tells you that EVERYONE needs to color correct, then they don't know what color correcting is. If you don't have a color on your face to neutralize, you don't have to color correct. And over the years, I've mostly done away with color correcting. I have bright pink tones in my face, and so I used to always use a green color corrector under my foundation. But eventually I realized that while that is a great strategy for the "typical" makeup user, I put on so much foundation that you can't really tell that I've done that step anyway. It's a waste.
If you opt for a lighter foundation layer and want to color correct, you can use a pale green for pinkness, a yellow to add brightness to dull skin, and you can use orange to help cancel out those blue tones found in dark beard shadow or when covering over darker eyebrows. Don't go overboard with this! You're not trying to add that new color - you just want to neutralize the unwanted color - so just add a little bit and blend until the color below is neutralized; it should blend in more easily with your natural skintone.
As I said, I don't really use color correctors anymore, but I did love the little palettes from NYX that gave several color options, as well as the green color corrector from Jeffree Star Cosmetics.
Note: These are the types of color correction that I did as a pasty white person. If you have darker skin, there are different ways for you to color correct, but I'm not an expert in that. There are lots of great black and brown makeup artists and performers on YouTube who can give advice on that.
Concealer
I use concealer the way all of the beauty gurus did back in 2017 - I'm looking to contour the face and brighten my undereye. A lot of common drag makeup techniques are derived from theatrical techniques, specifically the idea of contour and highlight. We'll talk about shimmer highlight later, but generally highlight and contour refer to areas of your face that you want to make more or less prominent. If you want something to stand out, you put a lighter color than your skintone so that it appears to protrude and have more light shining on it. If you want to make something appear smaller or less prominent, you contour with a darker color that makes it appear like there is less light shining on it. It's like using light and shadow on a 3D object, but with your facial structure!
For my undereye area, I want that to appear less sunken and more full, so I highlight with a light bright concealer. My current favorite is Jaclyn Cosmetics (may they rest in peace - the company shut down at the end of January 2024!), but I also really like the Benefit Boi-ing concealers. I don't have a lot of strong drugstore favorites, but I do like what Makeup Revolution has been up to in face products lately. Their IRL Filter Concealer is great! The foundation is pretty good too, if you want a cheap, coordinated set to do your face - the foundation and concealer together are only $20 at Ulta. I buy my concealer about two shades lighter than my skintone so that I get that highlight/brightening effect, but if you want something for spot concealing, you'll want something closer to your skintone.
Powder
This is definitely optional! I like to have a few setting and finishing powders in my kit so that they are there if the mood strikes, but you definitely don't need them. Powder is good for a couple of basic things as you are learning. First, if you want to "bake" areas of your face. Baking is where you put a layer of powder over an area and let it sit and soak in. This can be great for over foundations that feel a little wet or tacky, and I generally do it in the areas where I've highlighted with concealer: undereye, bridge of my nose, middle of forehead, and chin. Let the powder sit for a few minutes and then brush away the excess, and you will see that the powder helps create a smooth, even surface. If it's too powdery or cakey looking, follow up with a light mist of setting spray to help the powder fully melt into the look.
My go-to powder is cheap and an absolute classic - i guarantee at least one of your grandmothers had this powder! It's the Coty Airspun Powder, and the shade Extra Coverage Translucent is perfect for drag makeup. Walmart usually carries it and a lot of drugstores like CVS and Walgreens have it. You can find it on Amazon, but the price tends to be higher than what it should be "in the wild."
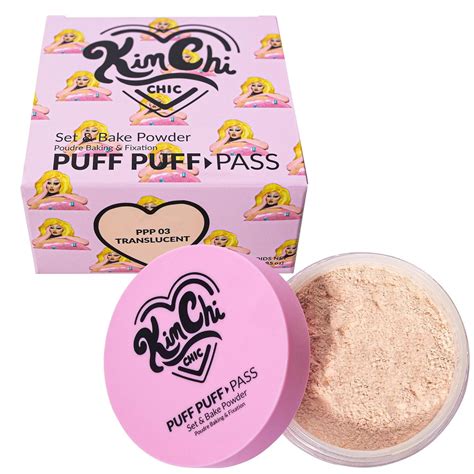
If you feel fancy or just really like powder (and makeup should be fun, after all!), I would suggest the Kim Chi Chic Puff Puff Pass Powder. I love the translucent, and I also sometimes use the shade Ivander - a mix of ivory and lavender - that is cool toned and great for brightening the skin. It's under $20, and it's a great powder.
Sometimes I love a matte face, but having a little shine can help take away any cakeiness in a heavy makeup application. Every now and then I'll finish up by giving a light dusting of a shimmer setting powder. Unfortunately, I don't have any drugstore recommendations for this, but the Jeffree Star Luminous Setting Powder in Natural has just a hint of base color and a gorgeous shine, and it comes in a pretty good range of colors to get that effect on various skintones. It's not a must-have, but I love it. It's especially good for photos.
Contour/Bronzer
I'm not convinced that there is a real difference between bronzing and contouring, except for the fanciness of the packaging. People say you are putting bronzer where your face would be "kissed" by the sun, but those are generally your highlight areas. Contour is where you want your face to recede - often under your cheekbones, under your chin, along the hairline, etc. and that seems to be where most people put their bronzer, so I'm combining them.
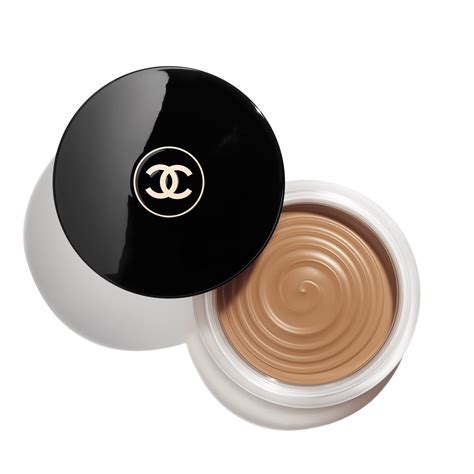
I love a cream bronzer to more seamlessly blend with my foundation, though I will sometimes emphasize it with powder on top. Once again, Makeup Revolution has really created a banger here: the Ultra Cream Bronzer is one of the best cream contours I've used in a while, and it's less than $10. I will say that I LOVE the Trixie Cosmetics Trixie Stix Cream Bronzers and the Flower Power Bronzers for powder, but the inventory at Trixie Cosmetics is notoriously inconsistent - once something goes out of stock, you never really know when - or if! - it will ever come back. Buy them if you see them, because they are worth it, but don't rely on them as a staple of your kit.
Eye Primer
This is a controversial one, because some people think that eye primers just aren't necessary, that they aren't any different than concealers, etc. As you grow in your skills, you can play around with different primers, using them or not using them, but I think they are very helpful for beginners, especially if you are building up your kit on a budget. Why? Because eyeshadow palettes are probably one of the highest cost items that you'll be adding to your kit, and it is much harder to find really good eyeshadows for cheap than it is almost any other product in your routine. An eye primer can help you get more mileage and coverage, as well as better performance, from cheaper eyeshadows while you're learning what you like and what you want in your kit, and then you can make better investments in more expensive shadows later.
In terms of primers, I think everyone should have a matte eye primer in a beige-y nude shade, and one in white. White is great for using really colorful shadows and making them pop, and the more beige shade (or one closer to your skintone) can help you get a smoother blend on more muted or neutral shadows.
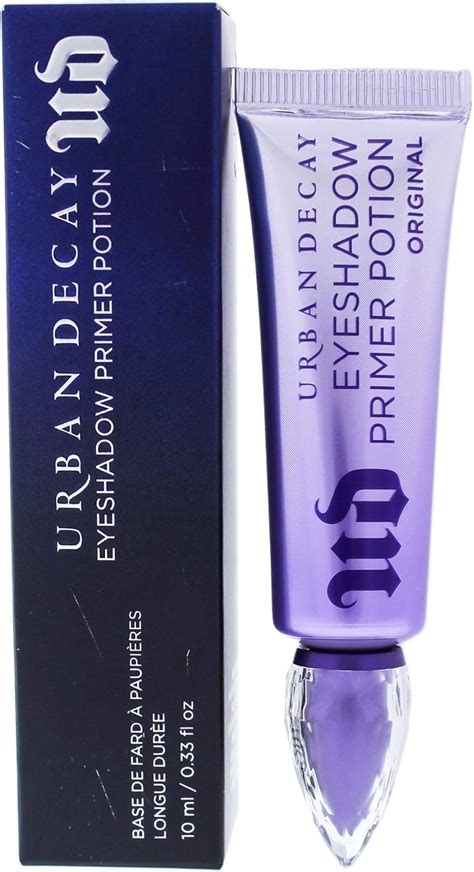
I love the Ulta Matte Eye Primer - it's simple and effective and only costs $12 at retail, and is often on sale. I also really like the Urban Decay Primer Potion in Eden. They used to have one - Espresso, I think? - that was a nude for medium to deep shades, but it seems to be discontinued. That's a shame, it was a good option, and not a lot of eye primers do a deeper nude. A warning - I don't recommend the Anti-Aging Primer Potion from Urban Decay. I find it greasy and creasy, and it doesn't help my makeup do anything except break apart. 0/10, do not recommend.
In terms of white primers, Juvia's Place I Prep, I Prime in shade one is almost white, and it works pretty well for most of what I use a white primer for. My favorite is the white primer from Gloss Gods, but they are an indie brand from Sweden, so if you're going to place an order, be ready to wait a bit for the shipping, and it might be worthwhile to wait until you have a bigger order in mind to potentially get free shipping.
Color Cosmetics
This is where the makeup starts to get fun! You've set up a gorgeous canvas - so get to painting your masterpieces! The color cosmetics section is divided up into eyes, cheeks, and lips, and while the eyes are probably the most obvious, as they are usually the most colorful part of the look, you can experiment with different looks by doing a very subtle, nude eye look with a very wild colorful lip, or go 80s-inspired with very heavy blush draping! This is where the makeup is more playful and fun.